
Stay Connected Anywhere: The Traveler’s Guide to Choosing the Best eSIM
Tired of hunting for Wi-Fi or juggling physical SIM cards the moment you land abroad, an eSIM for travel solves this by letting you download a digital data plan before you even board your flight. Once you arrive, your phone connects to local networks automatically, using a simple QR code or app scan to activate the plan without swapping a single card. This built-in digital SIM lets you keep your original number for calls and texts while a separate, prepaid data profile handles roaming, so you can switch between destinations or top up data right from your device with no need to visit a store.
Why Your Next Trip Needs a Digital SIM Card
Your next trip without a digital SIM card means landing and hunting for a local SIM, juggling tiny trays, or facing hefty roaming bills. An eSIM for travel solves this in seconds: you install it before you leave, while still on Wi-Fi, so connectivity is live the moment you touch down. No physical card to lose, no passport needed for a store purchase, and no price surprises. You keep your primary number active for calls and texts while a data-only eSIM handles your navigation, translation, and booking confirmations in the background. It also lets you switch between multiple travel profiles mid-trip if you cross borders, costing a fraction of traditional roaming.
Skip the airport kiosk and the paperclip—your phone becomes the only tool you need to stay online globally.
That simplicity transforms arrival anxiety into instant, reliable access.
What Exactly Is a Travel eSIM and How Does It Differ From a Physical SIM?
A travel eSIM is a **digital SIM card** embedded directly into your phone, activated by scanning a QR code or installing a profile—no physical plastic card required. Unlike a physical SIM, which you must buy, insert, and swap when crossing borders, a travel eSIM lets you download a local data plan instantly, often within minutes of landing. The key difference? A physical SIM occupies a tray and ties you to one carrier per card, while an eSIM can hold multiple profiles simultaneously, letting you switch between home and destination networks without removing anything. You also avoid losing tiny cards or waiting in airport shops—your connectivity lives in your device’s firmware, ready to activate on demand.
The Real Cost of Roaming vs. Buying a Local SIM vs. Going Digital
Roaming often carries the highest per-gigabyte cost, frequently exceeding $10, while a local SIM might drop that to under $2 but adds airport kiosk time and phone-number swapping. A digital eSIM, however, typically lands between $3 and $6 per GB with instant activation. The real price is not just currency—it is the hour spent hunting a vendor versus 90 seconds scanning a QR code. For a 10-day trip using 5GB, roaming could cost $50, a local SIM $15 (plus hassle), and a digital plan roughly $25. The real cost of roaming vs. local SIMs vs. digital plans therefore balances convenience against raw savings, where mid-tier digital pricing often wins for short stays.
Which Phones and Devices Support This Technology?
Wondering which phones and devices support this technology? Most newer models do—anything from an iPhone XS or later (including SE models) works, while Samsung’s Galaxy S20 and up, Google Pixel 3 and newer, and recent Moto, OnePlus, and Xiaomi flagships are all eSIM-ready. Tablets like the iPad Pro and iPad Air (3rd gen+) also have it, plus some smartwatches and laptops. Before you buy a digital SIM, double-check your specific model number in settings—carrier-locked devices may block it.
**Q: Does my older phone support eSIM?**
A: Probably not—if it’s older than 2018, you’re likely stuck with a physical SIM, so check your manufacturer’s list first.
How to Set Up a Travel eSIM in Under Five Minutes
Setting up a travel eSIM in under five minutes begins with confirming your smartphone is unlocked and supports eSIM technology. Purchase a data plan from a reputable travel eSIM provider, ensuring your destination country is covered. You’ll typically receive a QR code via email immediately after payment. Open your phone’s cellular settings, tap “Add Cellular Plan,” and scan that QR code. Assign the eSIM for data usage only, keeping your physical SIM active for calls and texts. Once activated, toggle on data roaming—most travel eSIMs require this to connect to local networks. Verify the connection by opening a browser test page. If the network fails, manually select your provider’s listed access point name (APN) in settings. For convenience, install the eSIM before departing, ensuring you have Wi-Fi to receive the activation confirmation and avoid scanning issues abroad.

Step-by-Step: Buying, Downloading, and Activating Your Plan
Start by choosing your destination and data allowance on a provider’s site, then pay to receive the eSIM instantly via email or app. Next, scan the QR code or manually enter $1 eSIM the activation code under your phone’s cellular settings—do this while still on Wi-Fi to avoid gaps. After installation, label the profile (e.g., "Travel Data") and toggle it on upon landing. Activating your travel eSIM plan often requires enabling data roaming for that specific line, while keeping your home SIM off to dodge fees. Always download the profile before departure, as airport Wi-Fi can be unreliable for setup. Follow this sequence:
- Buy and receive the eSIM QR code
- Install via Settings > Cellular > Add eSIM
- Activate by switching on roaming for the new line
How to Switch Between Your Home Number and the Travel Data Plan
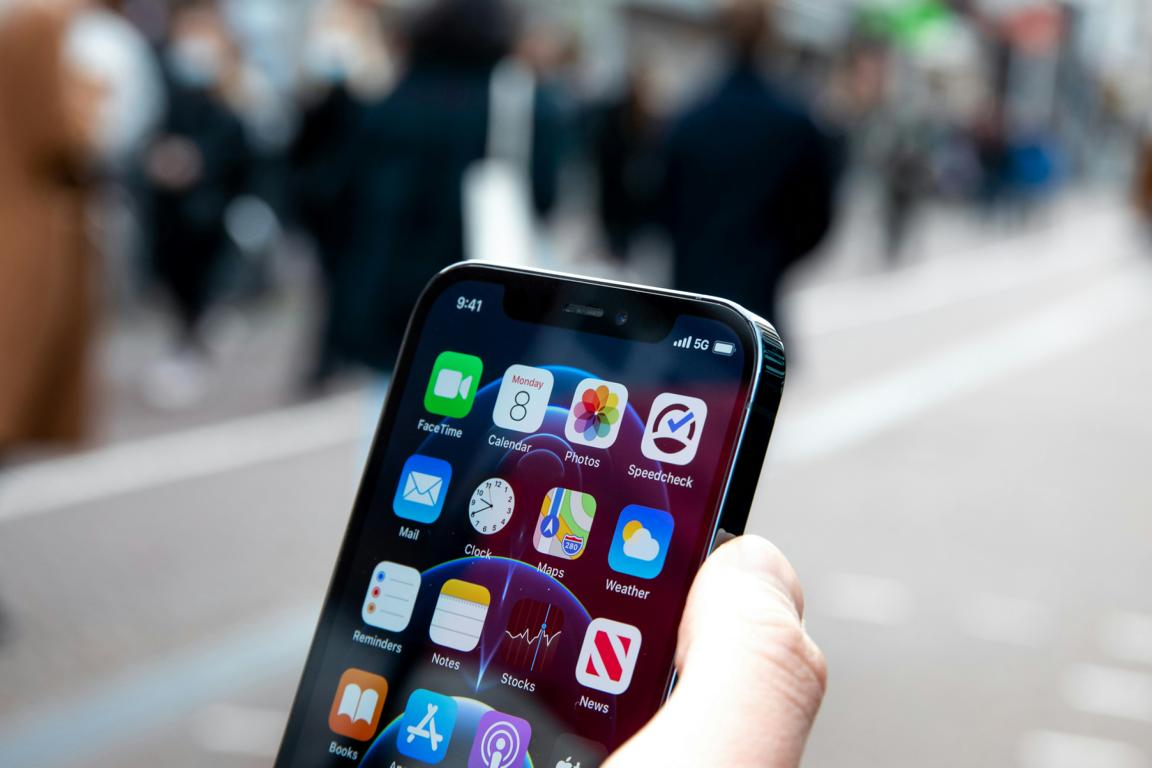
To switch between your home number and the travel data plan, open your device’s cellular settings and locate the two active eSIM profiles. Tap the line you want to use for calls and texts, then set it as the default voice line. For data, select the travel eSIM under “Cellular Data” to route all internet traffic through the local network, while keeping your home SIM enabled for SMS and calls. On iPhone, toggle “Allow Cellular Data Switching” off to prevent accidental roaming charges. On Android, disable “Auto-switch” for the same control. This manual selection takes seconds and ensures seamless dual-SIM activation without rebooting.

Switch anytime by assigning your home line for voice and the travel eSIM for data—toggling off automatic switching to avoid roaming fees.
Troubleshooting Common Activation Issues When You Land
If your travel eSIM doesn’t spring to life after landing, start by toggling airplane mode on and off—this often forces the network handshake. Next, verify that **data roaming is enabled** for your specific eSIM line in your phone’s cellular settings, not just the general mobile data toggle. If you still see “No Service,” manually select your destination’s local network under Network Operators; automatic selection occasionally fails on foreign towers. For newer iPhones, ensure the eSIM is set to “Primary” or “Secondary” for data. A quick sequence can resolve most glitches:
- Reboot the phone completely to refresh the SIM profile.
- Check that the eSIM’s APN matches your provider’s instructions.
- If all fails, delete and re-add the eSIM using your QR code (offline access to the code is vital).
Persistent errors usually stem from wrong activation date—confirm your plan’s start time aligns with your time zone upon arrival.

What to Look For When Choosing a Data Plan Abroad
When picking an eSIM for travel, I first check the coverage map against my actual itinerary, not just the country list—mountain routes or island ferries often fall into dead zones. Then I calculate data needs per day: streaming maps and posting photos eats 500MB fast, so I look for plans that let me top up mid-trip without buying a whole new package. I also verify whether the plan offers tethering, since my laptop becomes useless without it. Latency matters for video calls, so I read recent reviews from travelers in the same region. Finally, I confirm the activation process works before I leave home—no one wants to fumble with QR codes at baggage claim.
A plan that looks cheap per gigabyte can cost you hours if its network drops you at the wrong train station.
Data Allowance, Speed Tiers, and Fair Usage Policies Explained
When picking an eSIM for travel, **data allowance, speed tiers, and fair usage policies explained** start with the fine print on your plan card. Check if the "unlimited" data actually throttles to 2G after 500MB—that's a speed tier trap. Fair usage policies often kick in on "unlimited" global plans, meaning heavy streaming gets deprioritized during peak hours. Always match your allowance to your habits: a 5GB plan vanishes fast if you use maps, social feeds, and video calls daily. A 30-day plan with 10GB at 4G speeds beats a 100GB plan that drops to dial-up after day two.
Q: How do I spot a bad fair usage policy on an eSIM?
A: Look for phrases like "unlimited data" alongside "subject to fair use"—that usually means speeds drop sharply after 1–3GB/day. Prefer plans that state a hard speed floor (e.g., “always 5Mbps”) rather than vague “up to” speeds.
Regional Plans vs. Single-Country Plans: Which Saves You More?
Choosing between a regional eSIM and single-country plans hinges entirely on your itinerary’s density. If you’ll cross borders every two or three days, a regional plan—covering clusters like Europe or Southeast Asia—almost always saves more, eliminating the cost and hassle of repurchasing coverage per nation. However, for a week-long stay in one destination, a single-country plan is cheaper because you avoid paying for unused neighboring countries’ bandwidth. The break-even point usually falls around three countries per trip, so tally your border crossings before buying. Regional plans save more for multi-stop travelers, while single-country plans win for focused, one-nation trips.
- Regional plans cost less per day when hopping between 3+ countries.
- Single-country plans offer cheaper gigabyte rates for deep, local usage.
- Regional coverage often includes limited data speeds, not just unlimited bundles.
- Check if your regional plan includes all countries you’ll actually visit.
How to Check if a Provider Covers the Destinations You’re Visiting
Before purchasing an eSIM, verify coverage by checking the provider’s official coverage map or destination list, which is usually found on their website under “Coverage” or “Destinations.” Search for each specific country you’ll visit, not just the region, since some eSIMs cover only select networks within a country. Look for the network partner names listed; cross-reference these with your phone’s supported bands to ensure compatibility. If you stop over in multiple countries, confirm each one is included in the same plan, as some packages charge per-country add-ons. Finally, read recent user reviews on forums like Reddit for real-world connectivity issues in those destinations.
- Check the provider’s coverage map for each individual country on your itinerary.
- Verify that your plan includes all stopover countries, not just the main destination.
- Cross-reference listed partner networks with your device’s frequency bands.
Practical Tips to Maximize Connectivity While Traveling
To maximize connectivity while traveling, install your eSIM before departure to avoid relying on airport Wi-Fi or hunting for local SIM vendors. Activate the plan only upon landing, and always download offline maps for your destination as a backup in case of delayed activation. Prioritize eSIM providers with multiple network partners, so your phone automatically hops to the strongest carrier in crowded cities or rural areas. Disable data roaming for your primary line to prevent accidental charges, and set your eSIM as the default for data while keeping calls on Wi-Fi calling. For extended trips, buy a regional eSIM with generous data caps, and monitor usage through the provider’s app to avoid throttling—recharging mid-trip is often faster than troubleshooting a dead signal. Finally, test your eSIM connectivity at the airport lounge before venturing out, ensuring seamless navigation and communication from the first step.
How to Manage Your Data Usage So You Never Run Out Mid-Trip
To keep your travel eSIM from depleting early, start by identifying data-hungry apps—navigation, streaming, and social media—and restrict their background refresh in your device settings. Pre-download offline maps and entertainment before departure, and rely on Wi-Fi for large updates like OS patches or photo backups. Adjust your messaging apps to send photos only when connected to Wi-Fi, and set your email to fetch manually instead of pushing constantly. Monitor your consumption daily through your phone’s data tracker or your eSIM provider’s app to spot spikes. *A simple habit—switching video quality to standard definition on mobile networks—can extend your plan by days.* Smart data usage management for trips ultimately hinges on small, deliberate settings tweaks rather than constant vigilance.
Q: What is the fastest way to avoid running out mid-trip?
A: Turn on data saver mode and disable cellular access for non-essential apps like games or shopping tools—this alone can cut usage by 30–50%.
Using WhatsApp, Maps, and Translation Apps Without Burning Through Gigabytes

Your travel eSIM data vanishes fast if you let apps run wild. For WhatsApp, disable auto-download of photos and videos, and rely on voice messages instead of video calls over cellular. For Maps, download offline regions on Wi-Fi before departure; then use airplane mode with eSIM data off for turn-by-turn navigation. Translation apps like Google Translate thrive offline too—download language packs and use the camera’s offline mode, which works without consuming a single megabyte. Streaming a phrasebook video is the silent killer of your data plan. Prioritize text-based queries. Smart offline app settings stretch every gigabyte across your journey.
- Set WhatsApp media auto-download to “Wi-Fi only” before you land.
- Pre-download Google Maps areas for entire cities while connected to hotel Wi-Fi.
- Install offline language packs for Google Translate or DeepL ahead of time.
- Toggle on “Data Saver” in each app’s settings to block background refresh.
Hotspot Sharing: Can You Use Your eSIM Data for a Laptop or Tablet?
Yes, you can absolutely use your eSIM data as a mobile hotspot for a laptop or tablet, provided your phone’s carrier plan permits tethering. This turns your handset into a portable Wi‑Fi router, letting you work or stream on a bigger screen without hunting for café networks. To maximize connectivity while traveling, check your eSIM provider’s fair‑use policy beforehand, as some data‑only plans restrict hotspot speeds or cap usage. If your laptop lacks a SIM slot, this tethering method is the most straightforward solution. For heavy tasks like video calls, prioritize a plan with generous hotspot allowances, as eSIM hotspot sharing preserves your primary device’s battery by offloading heavy browsing to your laptop.
Frequently Asked Questions About Travel eSIMs Answered
Travelers often ask if their phone needs to be unlocked for an eSIM—yes, it does, but most modern devices are already unlocked, so check your carrier settings before you go. Another common question is whether you can keep your WhatsApp number active; you can, since the eSIM provides data while your physical SIM retains your primary number for calls and texts. Worried about installation? It takes under two minutes via a QR code, and you can install it before you leave home to avoid airport Wi-Fi hassles. Can you switch back to your home plan mid-trip? Absolutely—just toggle your eSIM off in settings. Finally, coverage questions are resolved by checking the provider’s country list, which nearly always includes all major destinations, ensuring you stay connected from landing to departure.
Can I Still Receive Calls and Texts on My Regular Number?
Yes, you can still receive calls and texts on your regular number while using a travel eSIM, but only if your home carrier supports Wi-Fi Calling or roaming on your original SIM. Keep your primary SIM active for calls and texts, and your travel eSIM will handle data simultaneously. However, incoming texts from banks or two-factor authentication may fail if your home network blocks SMS over Wi-Fi. To avoid surprises, enable Wi-Fi Calling before you depart and test it at home. Alternatively, forward calls to a VoIP number or rely on apps like WhatsApp, since standard SMS often incurs roaming fees even when your data runs on the eSIM.
Your regular number remains functional for calls and texts if your home SIM stays active and Wi-Fi Calling is enabled, but SMS reliability depends on your carrier’s settings.
What Happens If I Travel Between Two Countries on One Plan?
When you travel between two countries on one eSIM plan, coverage typically depends on whether the provider includes both destinations in a regional or global data zone. A single plan with multi-country coverage automatically reconnects to a local network upon landing, so you avoid manual profile switching or re-purchasing data. However, roaming across borders on one plan may trigger a fair-use policy: if your plan bundles a fixed data allowance, crossing into the second country consumes the same pool, not a separate allocation. Conversely, a country-specific plan usually stops working the moment you leave the original border, forcing you to buy a new eSIM or add-on. Check the plan’s coverage map before departure to confirm both nations are listed under the same zone.
How Do I Refill or Extend My Plan if My Trip Gets Longer?
Extending coverage mid-trip is handled through your eSIM provider’s app or web dashboard, where active plans display a refill option. First, check your current data balance and plan expiration date to determine if a top-up or a new package better matches your remaining travel duration. Then, select a data add-on or an extension bundle that activates immediately upon purchase, ensuring seamless connectivity without a physical SIM swap. Refilling your travel eSIM typically follows these steps: log in, choose the active plan, pick a refill amount or extension period, and confirm payment. The new allowance stacks onto your existing balance or resets the expiry date, depending on the provider’s policy.